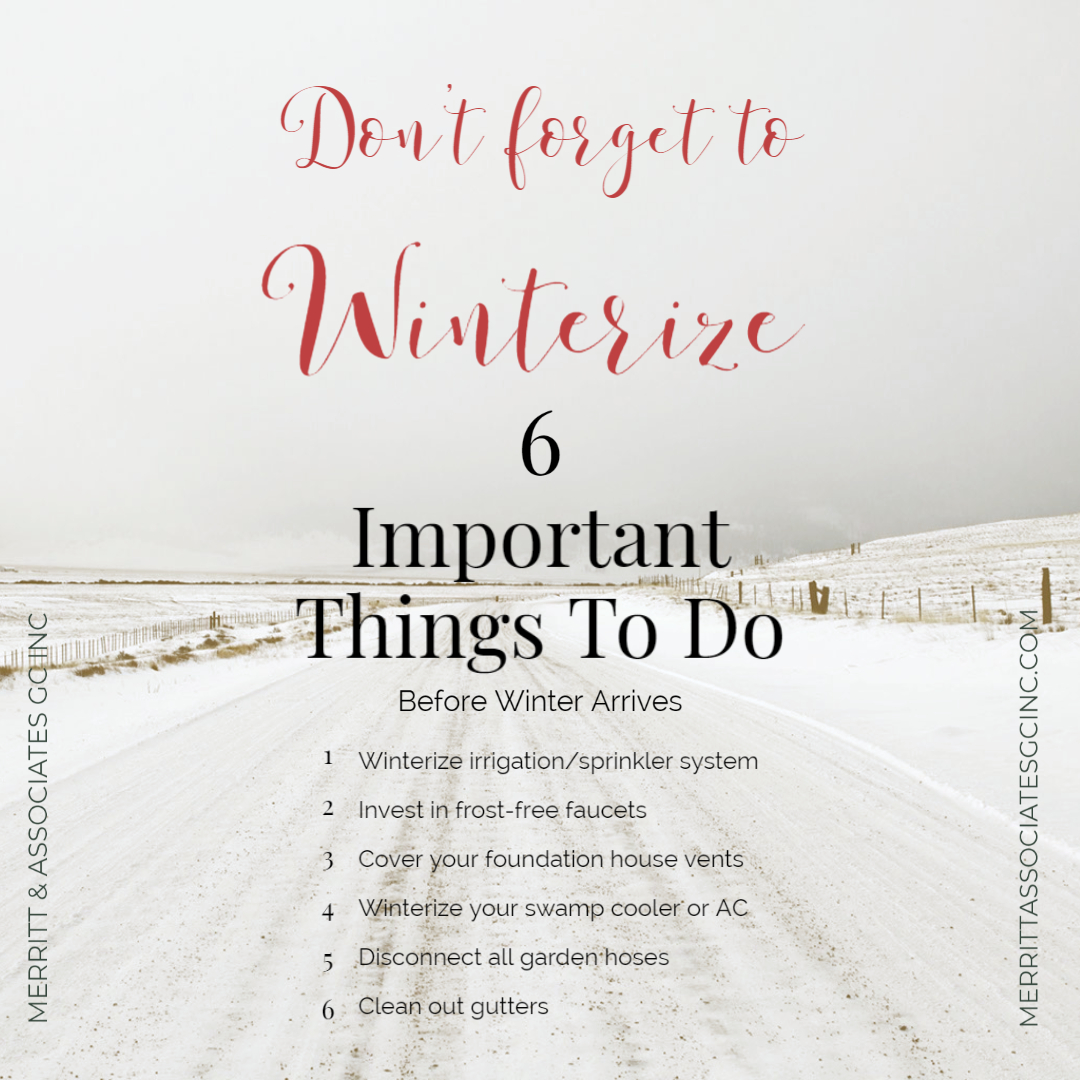
6 Important Things To Do Before Winter Arrives:
by Keala’ulu’wehi Sinclair
*Contact us for assistance if you’re unsure or don’t feel comfortable winterizing yourself. Planning is important since you won’t be the only one asking for help. If you reside in an area where frost seeps deep beneath, get ready in advance.*
Winterize irrigation/sprinkler system
There are several methods to winterizing your irrigation or sprinkler system: manual drain, automatic drain, and the blow-out method.
- Manual Drain: Some irrigation systems include manual draining capabilities. With these systems, you may easily drain the system of extra water by opening a valve.
- Automatic Drain: The water in the pipes is automatically drained by valves in an auto drain system. Only when the water pressure drops below a certain pound per square inch does this occur.
- Blow-out Method: The blow-out procedure is the third technique for emptying an irrigation system. You run compressed air through the irrigation system to empty the pipes. This allows more water to be released through the sprinkler heads. It only functions effectively if your irrigation system is equipped to manage that level of pressure.
Invest in frost-free faucets
During the summer, you utilize your outdoor faucet, but when the weather turns colder, it might lead to frozen pipelines. The installation of a frost-free hose faucet is one technique to lessen the risk of a pipeline burst. These are also known as faucets, spigots, and hose bibs, and they are frequently referred to as freeze-proof or frost-free. The design and installation of this unique faucet reduce the possibility of water freezing inside the spout. They can be purchased at your local hardware store or even bought online. To ensure proper installation, contact a plumbing contractor.
Cover your foundation house vents
Foundation vents may be easily closed for the winter by plugging them from the outside with foam blocks or PVC covers designed for this purpose. Just keep in mind to take the plugs out in the spring when the weather begins to warm up. This will also assist in preventing pests like rats and insects from entering vent holes that aren’t properly screened.
Winterize your swamp cooler
It is vital to the life of your cooler to winterize before the weather gets too cold. This will prevent mold & mildew, rust & corrosion, and broken water pipes & leaks.
- Turn off power & water: First, shut off your device’s power supply. While you are draining and cleaning the swamp cooler, you don’t want it to turn on. Find the valve that regulates the cooler’s water supply, then twist the handle clockwise to shut it off.
- Blow-out the line: The hose connecting the valve and swamp cooler has to be dried thoroughly after closing the water supply valve. Blow into one end of the tube to remove any remaining water that may be there.
- Drain the cooler: Remove any water that has accumulated inside the cooler. Either use a pair of pliers or a wrench to unlock the drain at the bottom of the swamp cooler or use a small container to bail out the water. Use sponges or rags to absorb the remaining water once you’ve removed most of it. This will stop corrosion or rust, two things that are not covered by home warranties.
- Clean the cooler: The remaining minerals inside the appliance can be removed using a shop vac or by cleaning them with a sponge and white vinegar. You may wait until spring to change disposable pads if you need to or you can replace them while winterizing this is dependent on your preference. Before covering the unit for the winter, you should dry and clean any reusable high-efficiency pads you may have. If you wish to remove calcium, magnesium, and salt deposit build-up from the pump and the float, you may also soak them in vinegar overnight.
- Cover the unit: Cover the cooler with a swamp cooler cover after everything inside is tidy and dry. As they must be a snug fit, you should measure your unit before purchasing one. To prevent the cover from flying off during a winter storm, secure the ends.
- Block the indoor vent: It is a good idea to shut and seal the vent where the cooler pushes air into the home during the winter since it might be a source of heat loss. Cutting a piece of insulation board or double-thick cardboard to fit the aperture is a simple technique to accomplish this. Remove the vent cover from the inside of the home, insert some cardboard or insulation into the aperture, and then replace the cover.
Disconnect hoses
It’s crucial to disconnect your garden hoses from the faucet after the summer season. If you don’t remove the hose in the winter, your pipes might freeze and break even if you have a frost-free faucet. Why? When water freezes, it expands, and nothing alters that, but taking proper precautions can prevent it.
Clean out gutters
The accumulation of leaves, sticks, and other debris in gutters can clog them, allowing water to seep under the roof and occasionally into the foundation. In the winter, clogged gutters can also result in ice jams. It’s crucial to periodically clean your gutters because of this. Spread a tarp below your gutters to collect all the debris and safeguard your lawn and vegetation, making cleanup easy. After cleaning out the gutters of debris, rinse the gutters and downspouts with a garden hose to eliminate any leftover debris. Additionally, this will reveal any leaks you may have.


